Adding Metal Blanks to the Cricut Mat
Add StrongGrip transfer tape to the StrongGrip mat. Put the transfer tape grid-side down onto the mat. You want to make sure it’s down really, really well on the mat. I like to use something like my brayer to go over it and make sure it’s down really well.
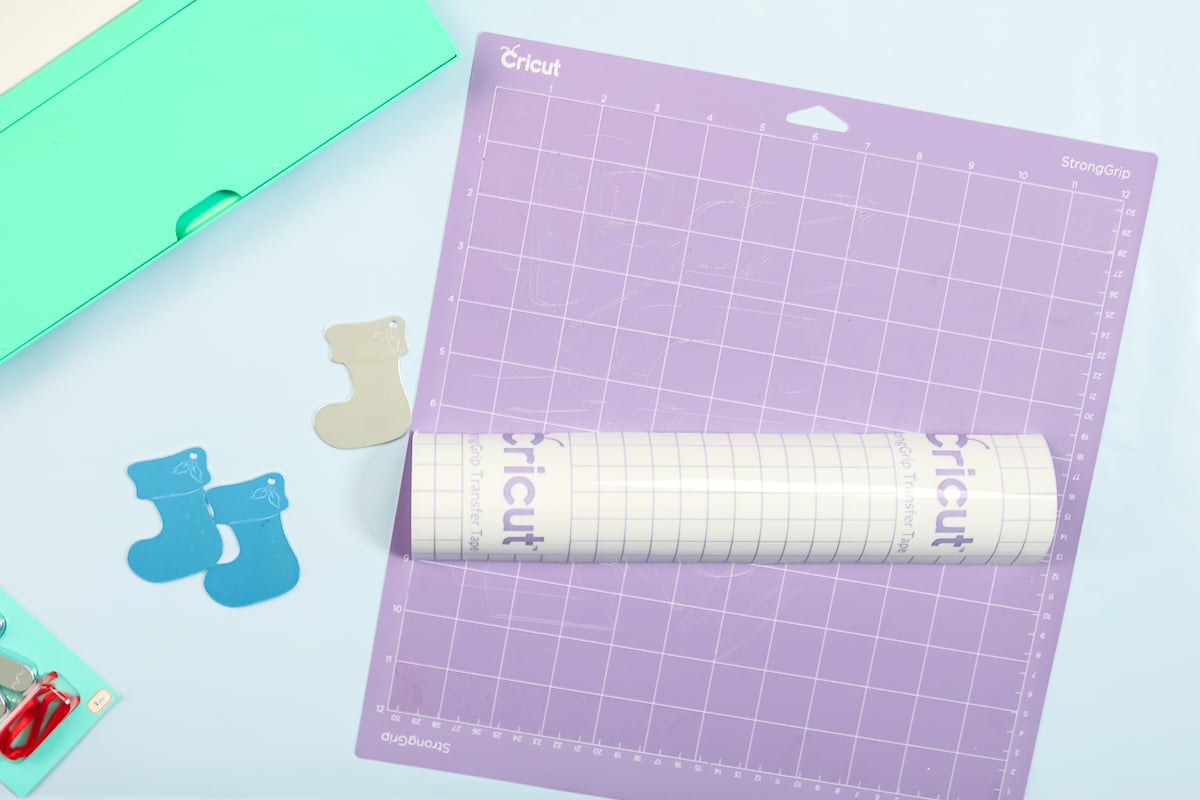
Then just peel up the backing sheet, leaving the tape itself right on your mat.
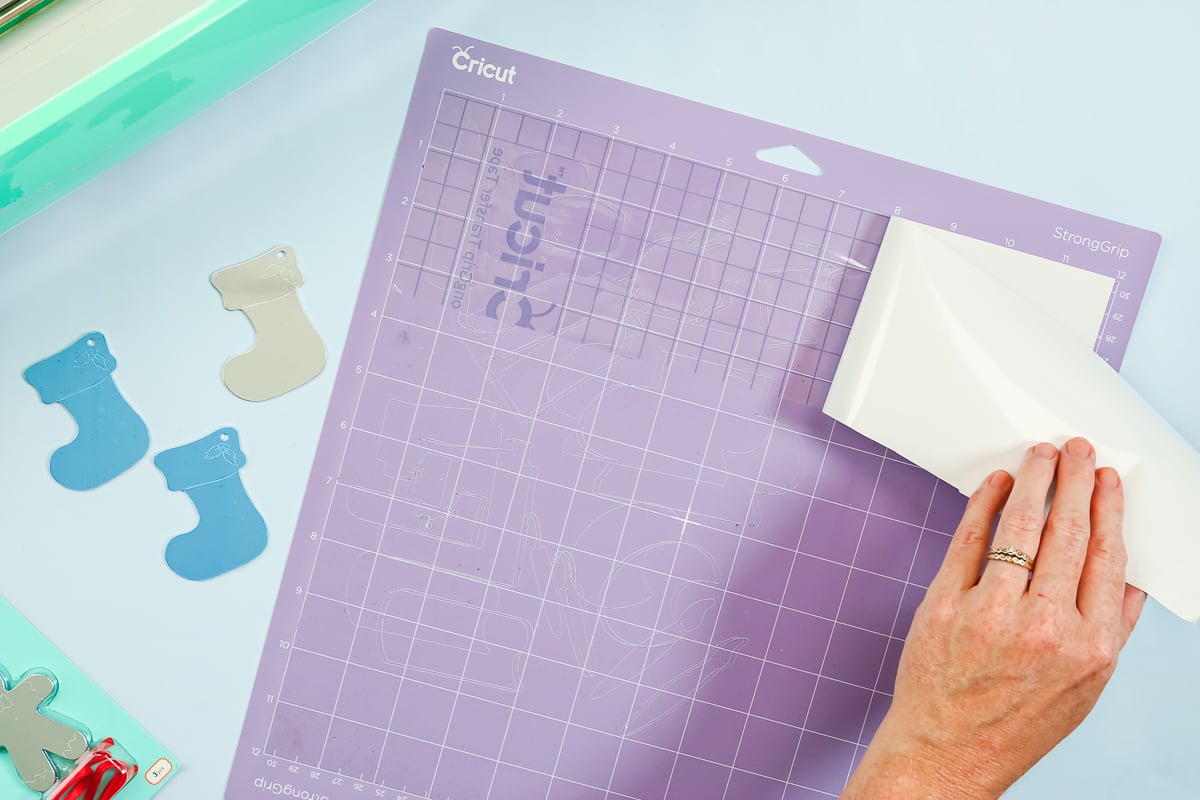
This particular blank had a protective sheet on both sides, and I just peeled that off on both sides. Decide where you want to engrave and add the blank onto the transfer tape that is on your mat. Just be sure the area where you want to engrave is over a gridline on your mat so that you know where to move your design in Cricut Design Space. Repeat the same process for the rest of the ornaments.
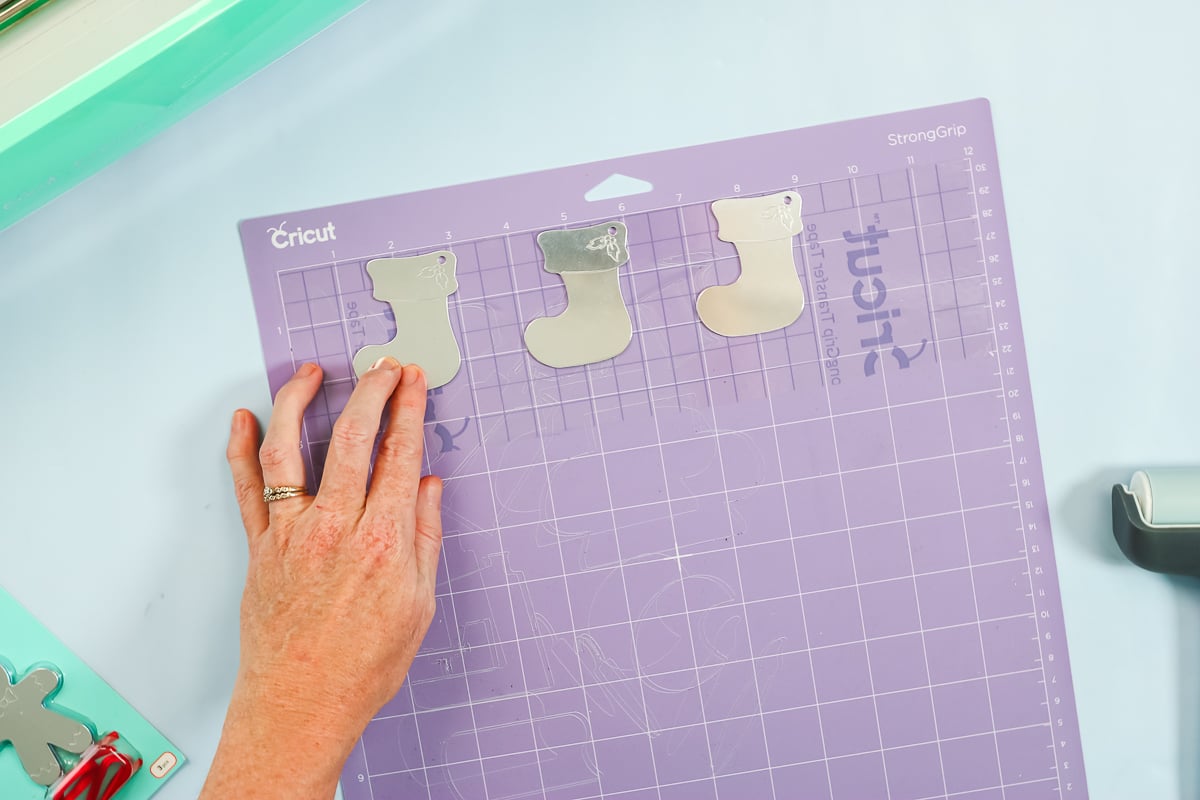
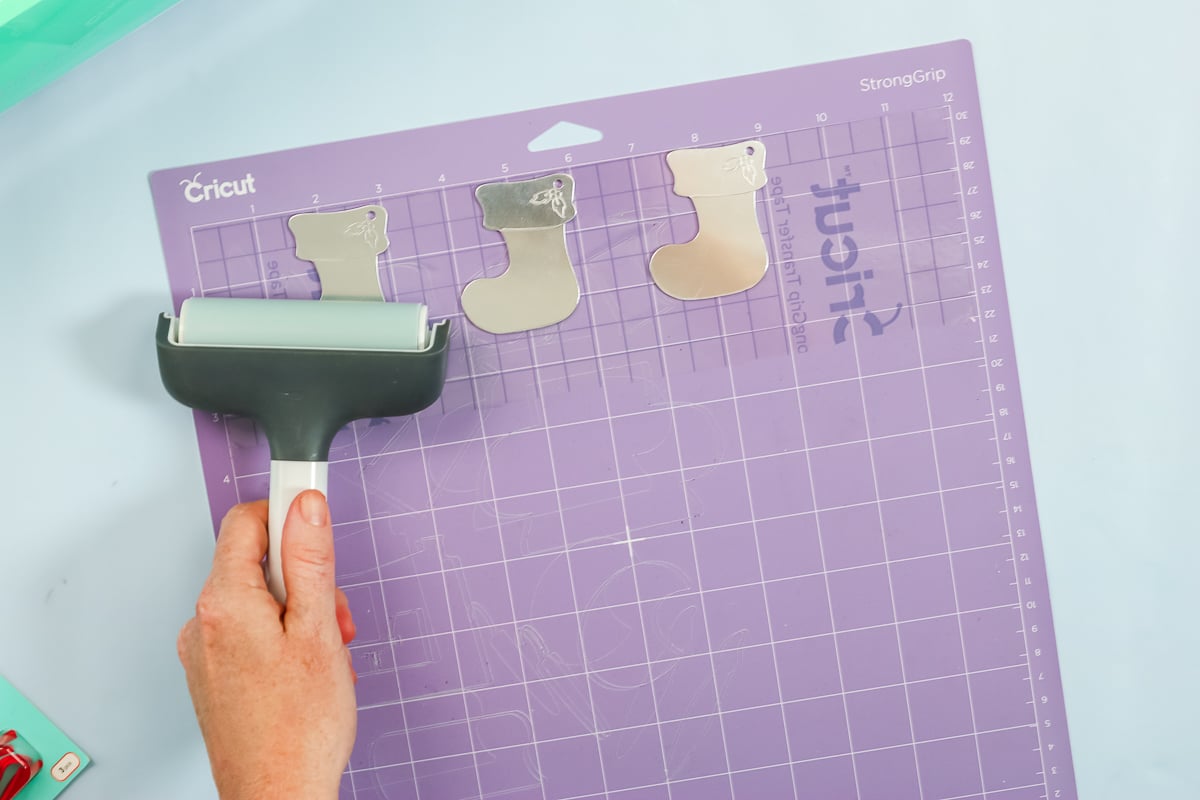
Again, I want these to be down really well on the mat, so I’m going to roll over them with the brayer and make sure they’re stuck well. Remember to move your designs in Design Space to the location of each of your blanks on the mat before continuing.
NOTE: This engraving tool is not made by Cricut, so it may void the warranty on your machine,
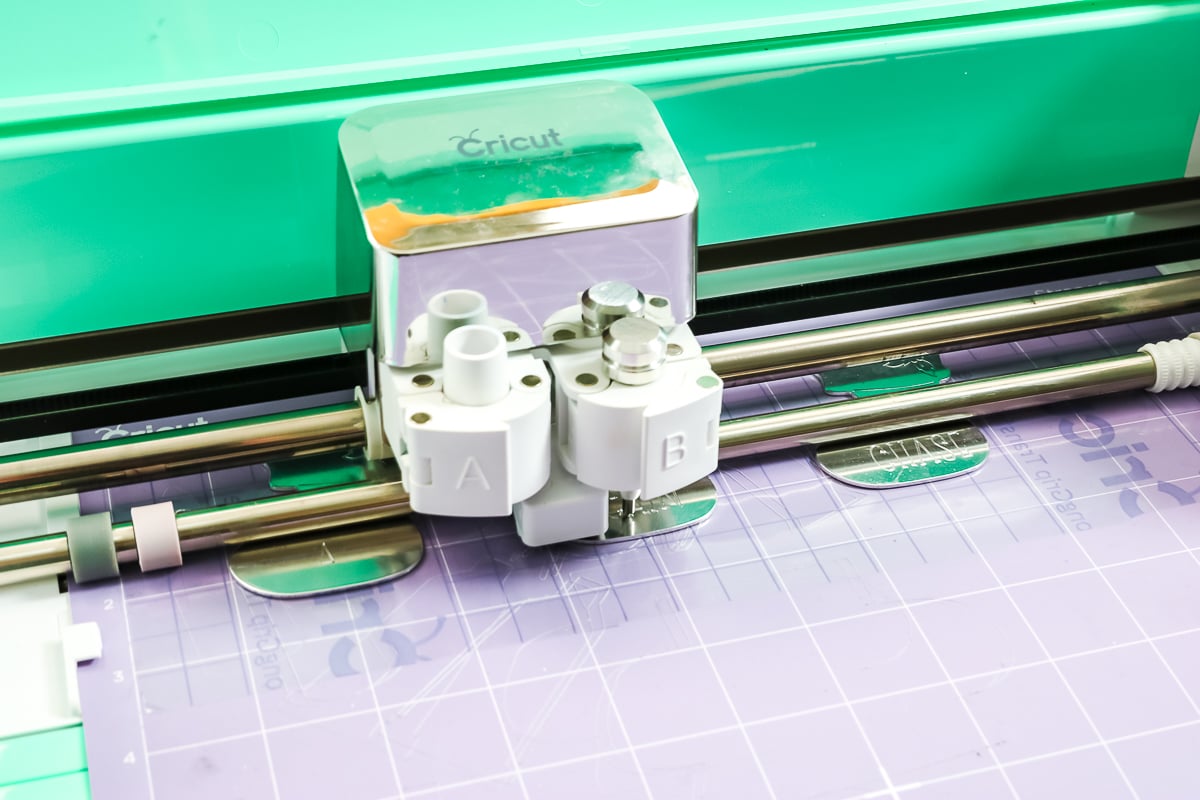
Move the white star wheels all the way over to the right. Remove the fine point blade from the clamp. I picked glitter cardstock as my setting, and Design Space says I need to load the fine point blade. This is what it should say as we’re going to trick it a little bit with this engraving tool. Drop the engraving tool into clamp B and close it.
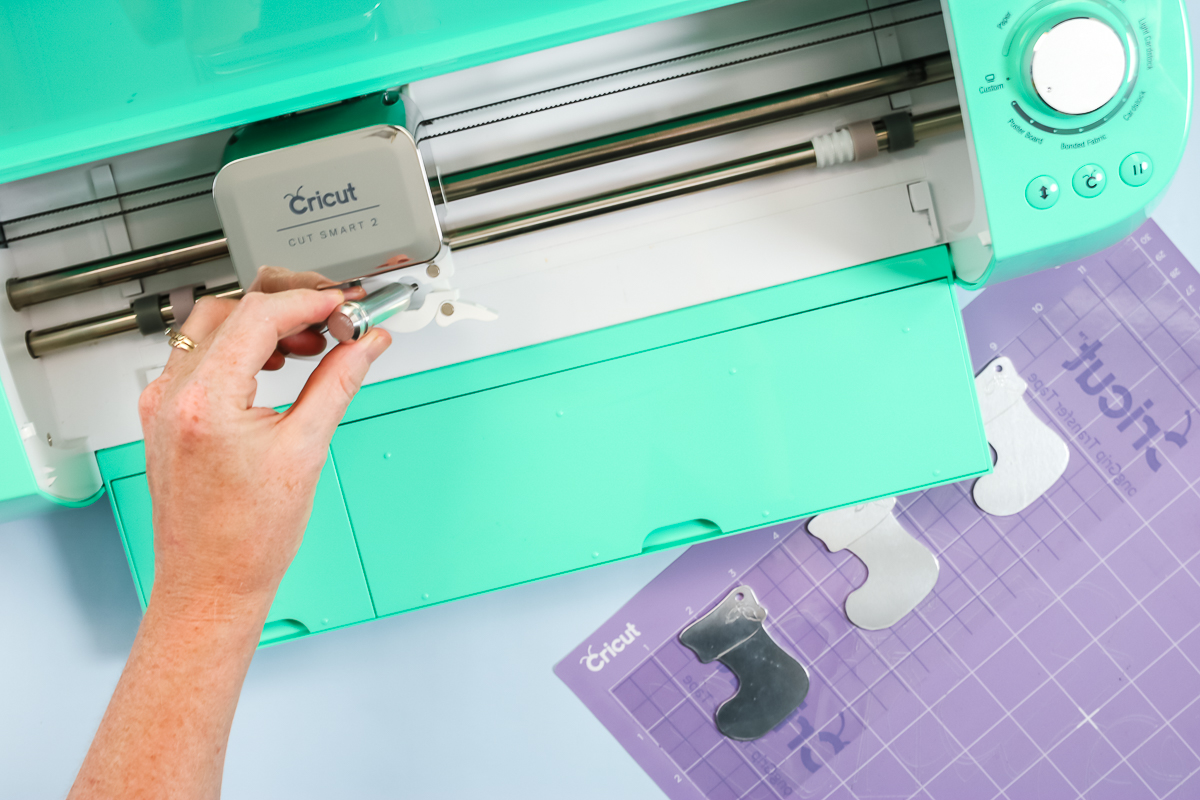
Load your mat into your Cricut machine. Press the C to cut, or in this case, engrave.
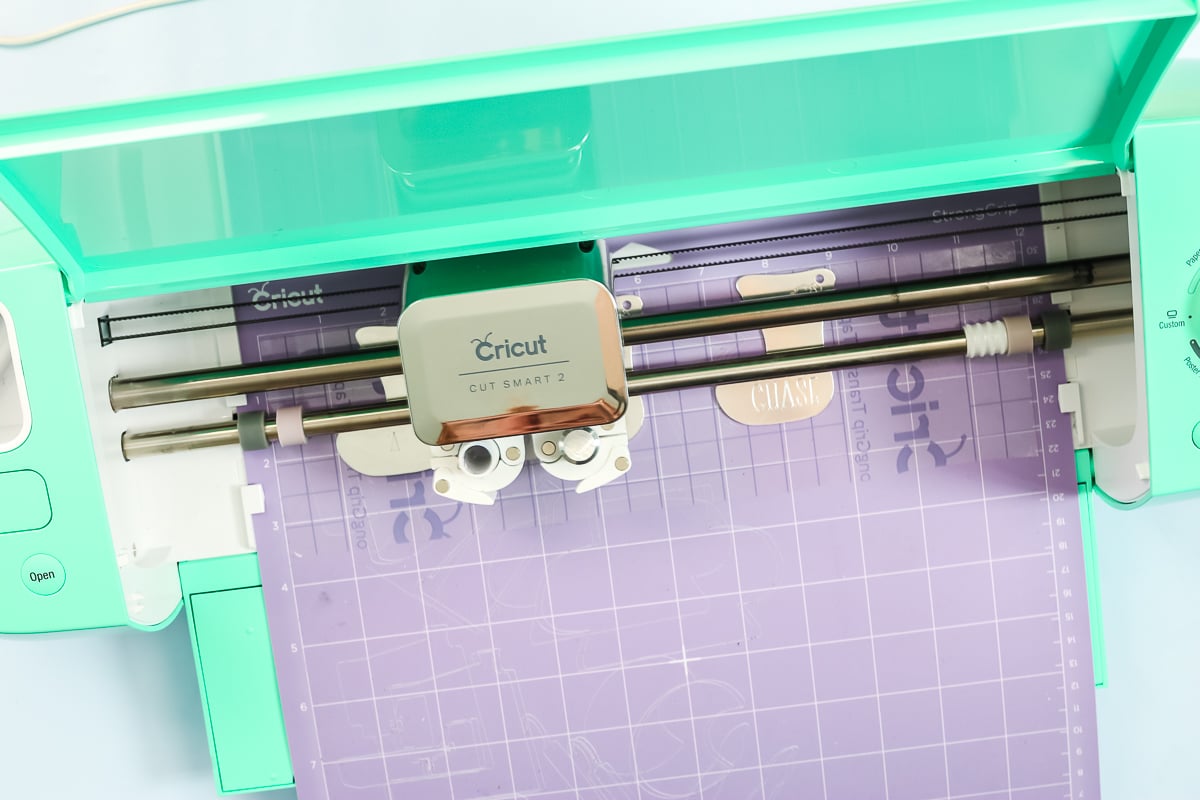
When it’s done, DO NOT eject it from the machine. You want to look and make sure you’re happy with this engraving. Does it need to be deeper? If so, you would press the C button again and let the machine go over the entire project again.
If you are happy with the way it looks, eject the mat. You might find that there is some debris on the surface. I like to just use this StrongGrip transfer tape and put it on top of the ornament and lift it up. I’ll just lift up all of those little bitty bits and pieces. Then just remove each of the ornaments from the transfer tape.
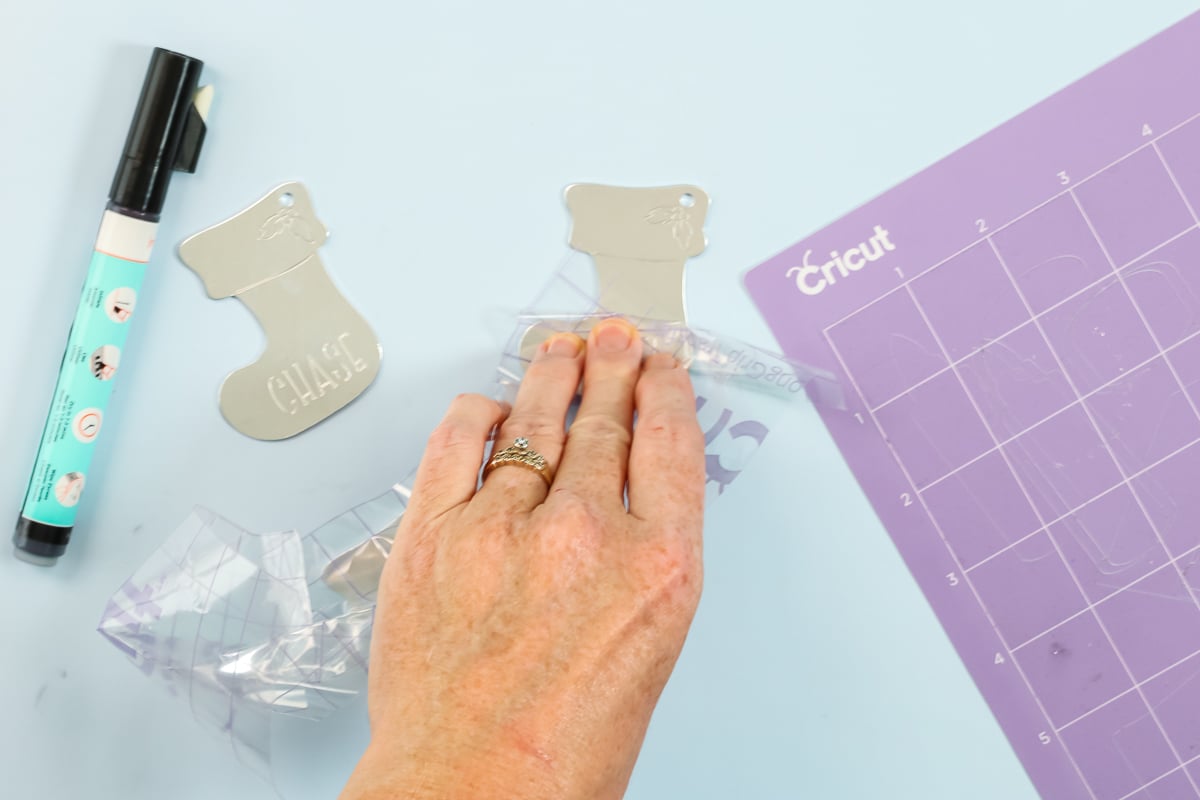
To finish these off, I like to add an enamel marker to my engraving. I’ve used this marker several times. If it’s your first time using it, you may need to prime it. I’m actually going to go over the engraving we just did, as well as what’s already on these ornaments. Just add some enamel over the entire area.
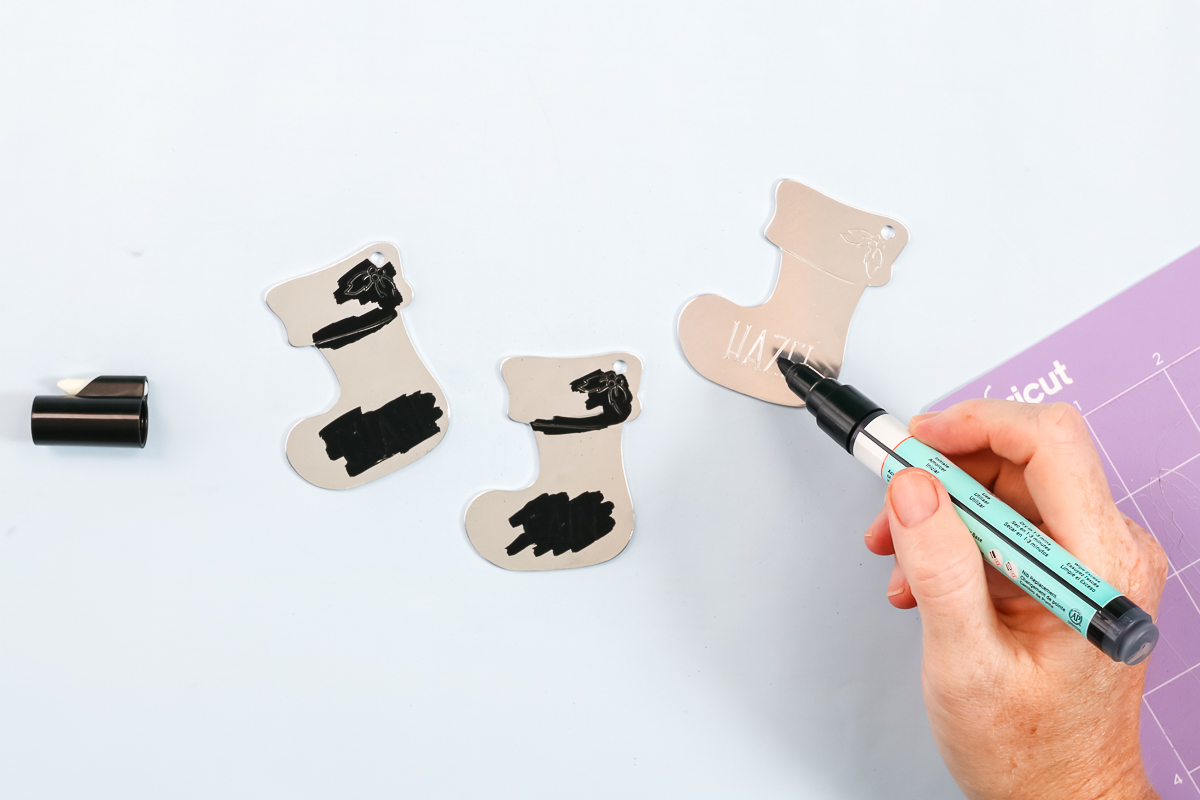
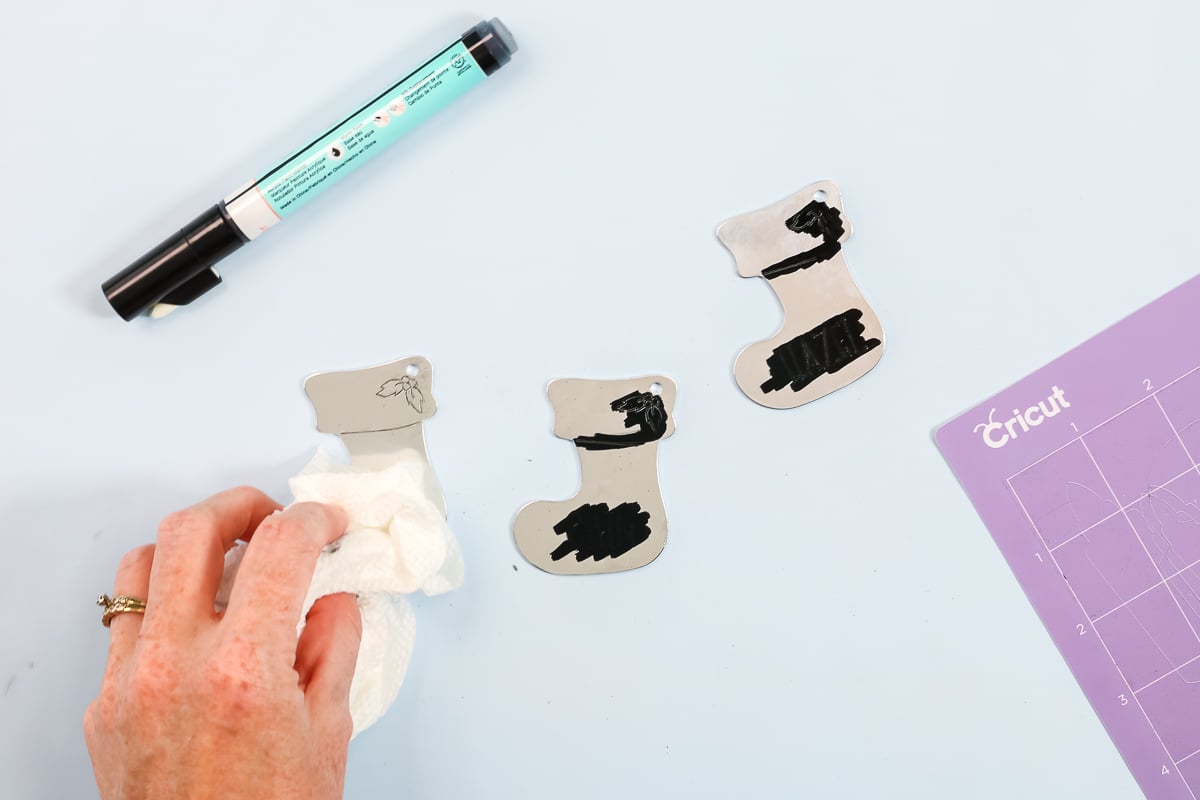
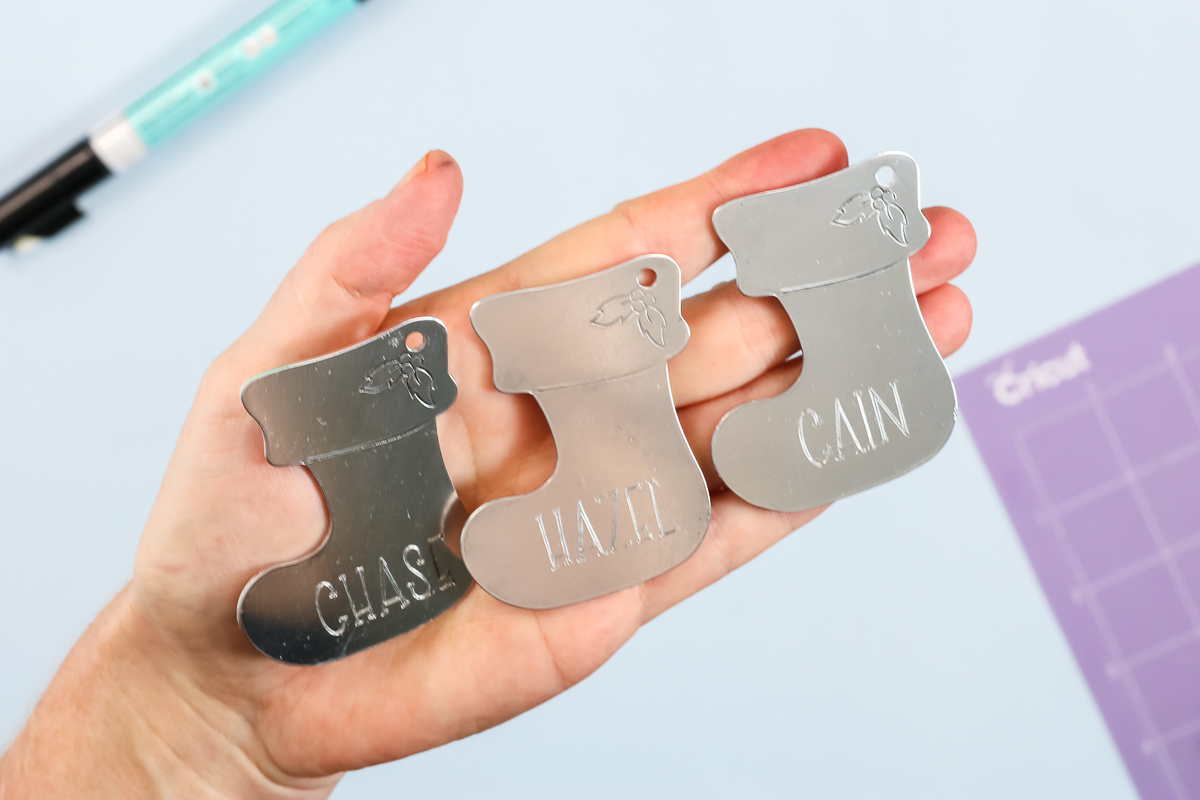
Allow that to dry for just a few minutes and wipe it off with a paper towel. You should see black, in this case, down inside all of your engravings. It just makes them pop a little bit more than before.
Add a ribbon and this one is ready for the tree!
What You Need To Engrave With Your Cricut On Acrylic (Cricut HACK)
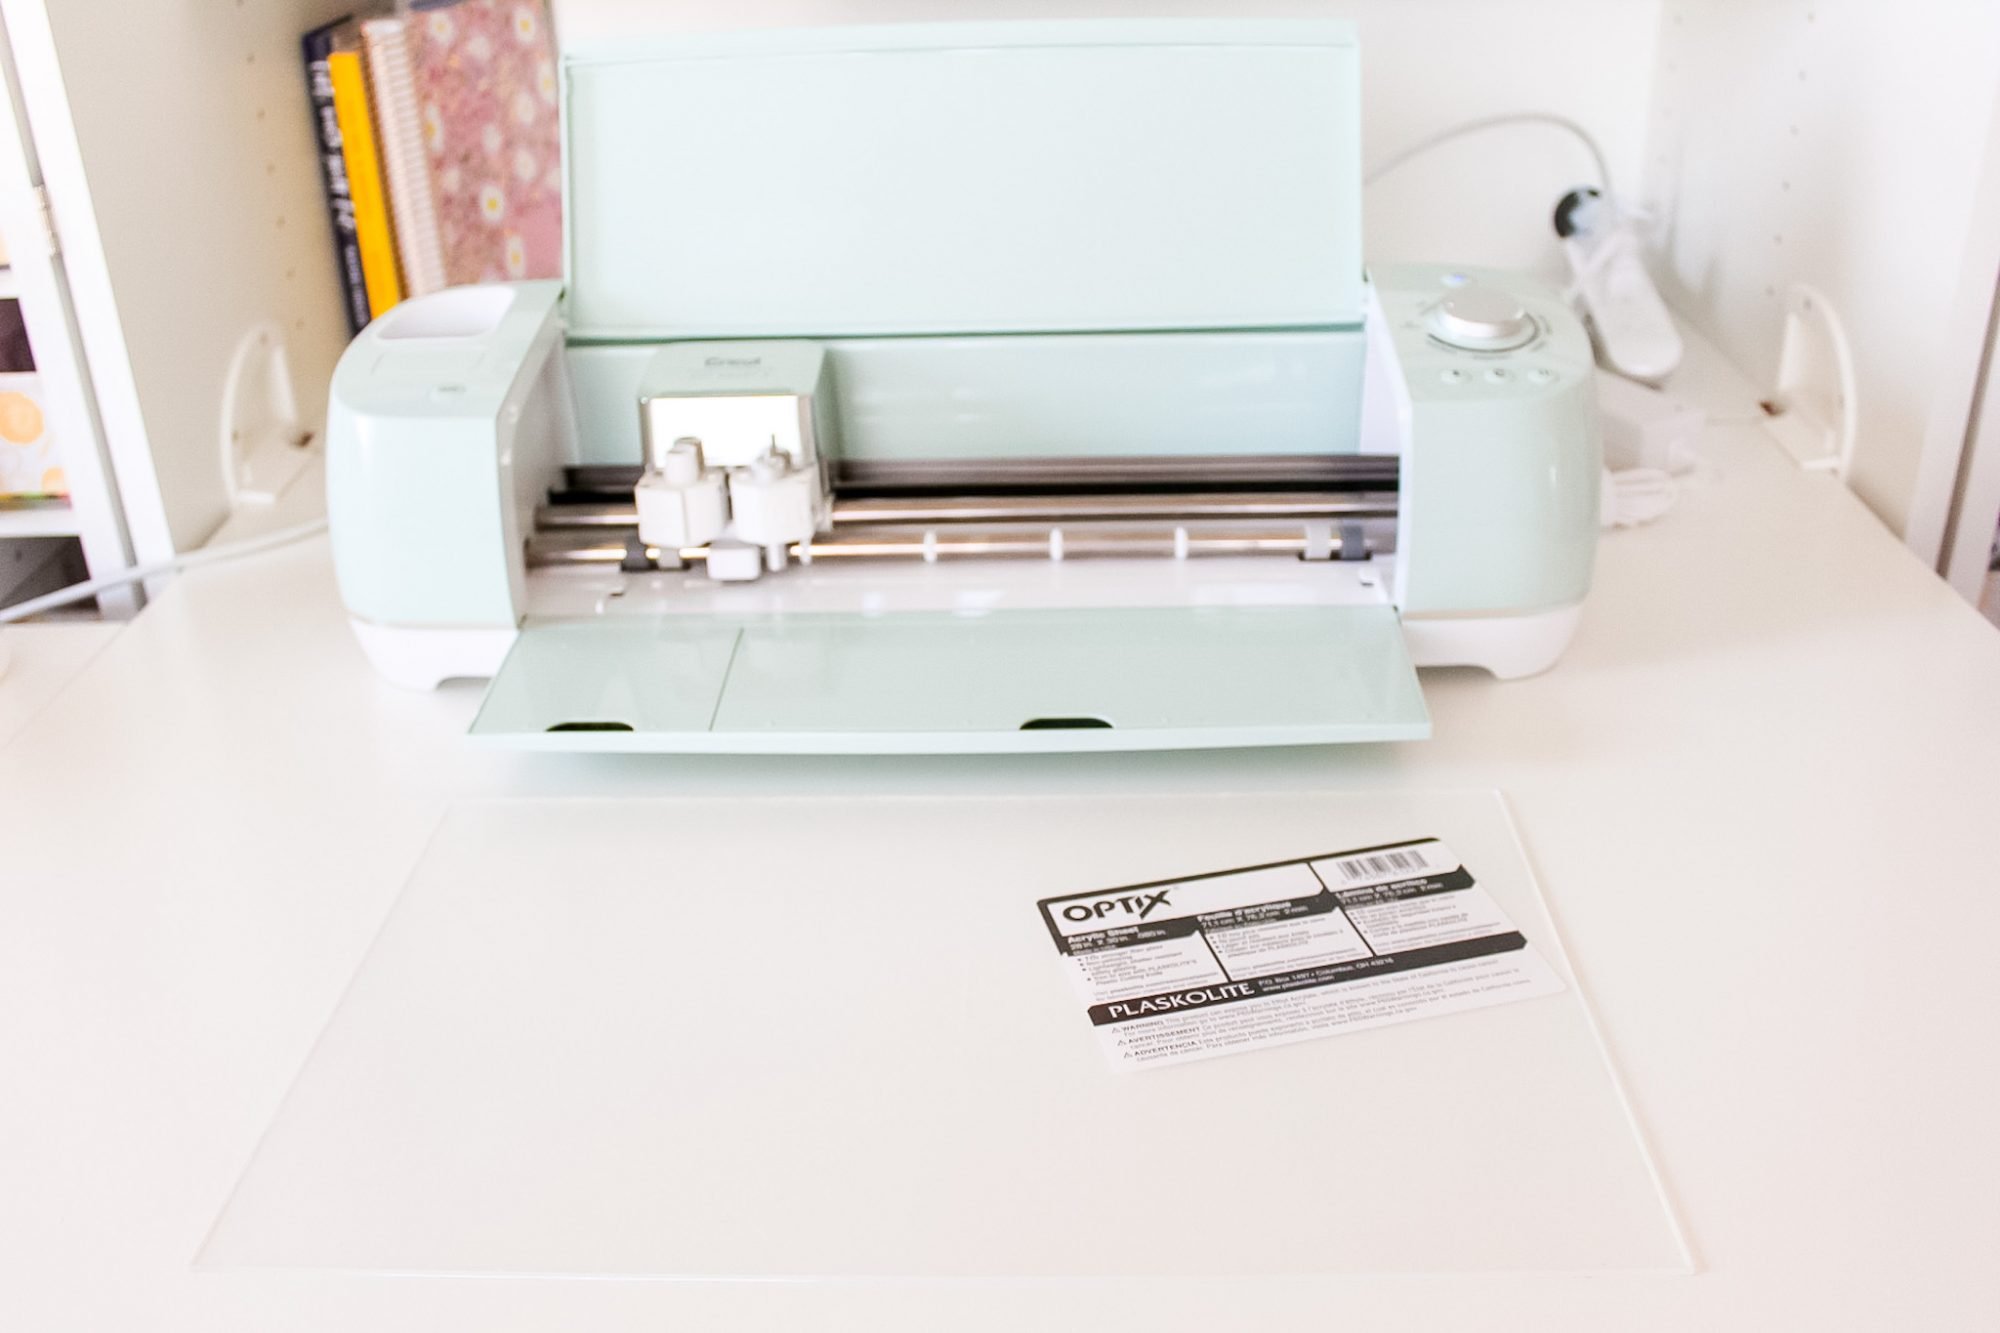
Here’s what you need to make this and engrave using your Cricut Explore Air 2…
I gladly accept returns and exchanges Contact me within: 14 days of delivery Ship items back within: 30 days of delivery
FAQ
What materials can I engrave with Cricut explore AIR 2?
Can the Cricut Air 2 engrave acrylic?
Can Cricut Air 2 engrave dog tags?